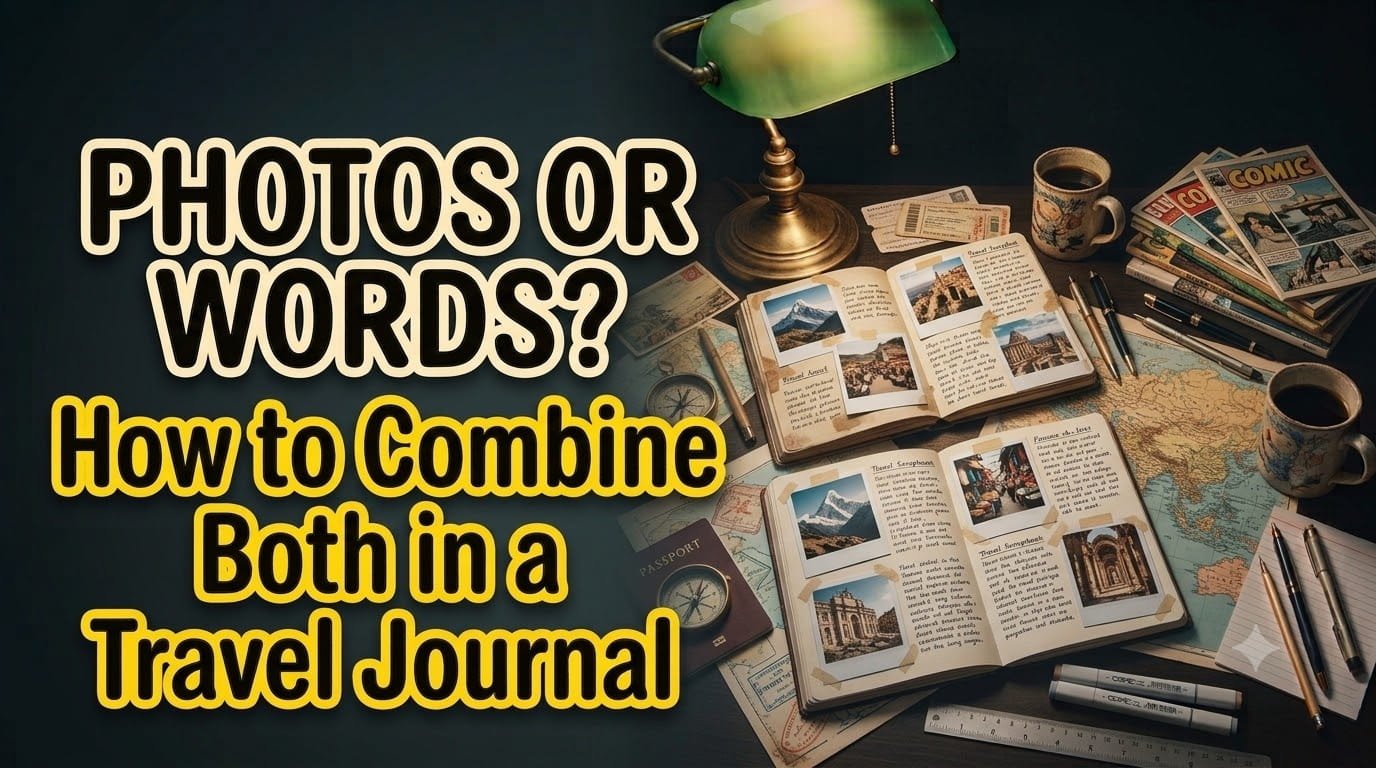
Photos or Words? How to Combine Both in a Travel Journal
You don’t have to choose between photos and words. The strongest travel journals can use both to capture different parts of an experience.
A photograph can preserve a face, street, landscape, or meal. Words can capture the conversation, emotion, context, or small detail that a camera missed.
The trick is to make photos and writing work together, rather than simply filling every page with both.
| Day-One Metric | Beginner Target |
|---|---|
| Hours to Basic Competency | 2–4 hours |
| Minimum Budget | $0 |
| Free Software Prerequisites | Phone camera and Notes app |
| Learning Difficulty | 1/5 |
How Do Photos and Words Work Together in a Travel Journal?
Think of your photo as showing what something looked like.
Your writing can explain why it mattered.
For example, a photograph of a crowded market might show colorful stalls and people moving through the street. A short journal entry could explain the vendor you spoke with, what you bought, or why the market surprised you.
Neither element has to repeat the other.
Let the Photo Handle Visual Information
Use photographs for things that are difficult to describe efficiently.
Good subjects include:
- Buildings
- Landscapes
- Street scenes
- Food
- Objects
- Signs
- People, with appropriate permission
- Interesting details
A photograph can establish a place quickly.
Let Words Add Context
Use writing for information the photograph cannot communicate.
You could record:
- What happened
- Who you met
- What someone said
- Why a place mattered
- What surprised you
- What you were thinking
- What happened immediately afterward
This creates a more complete memory than either photos or words alone.
How Should You Combine Photos and Words?
Start with a simple one-photo, one-entry approach.
Choose one meaningful photograph from the day.
Then write 100–200 words about it.
Don’t describe everything visible in the photograph.
Instead, answer:
Why did I take this picture?
That question usually produces more interesting writing.
Example
Imagine you photograph a tiny café on a quiet side street.
Instead of writing:
This was a small café with wooden tables and plants.
Try recording what the photo doesn’t show:
I almost walked past this place because the entrance looked closed. The owner waved me inside and recommended a pastry I’d never tried before. We ended up talking about the neighborhood for fifteen minutes.
The image shows the café.
The words preserve the experience behind the image.
What Should Go on Each Journal Page?
You don’t need a rigid layout.
Try dividing a page into three parts:
Photo: One strong image.
Caption: One or two sentences explaining what we’re seeing.
Journal note: A longer reflection about what happened.
You could also add a date and location.
This gives every page a clear purpose.
Try a Contact-Sheet Approach
If you took many photographs, print several small ones on a single page.
Then write a short paragraph underneath.
This works particularly well for:
- Day trips
- Road trips
- City walks
- Food experiences
- Museum visits
- Markets
- Nature trips
The smaller images create a visual sequence without requiring a full page for every photograph.
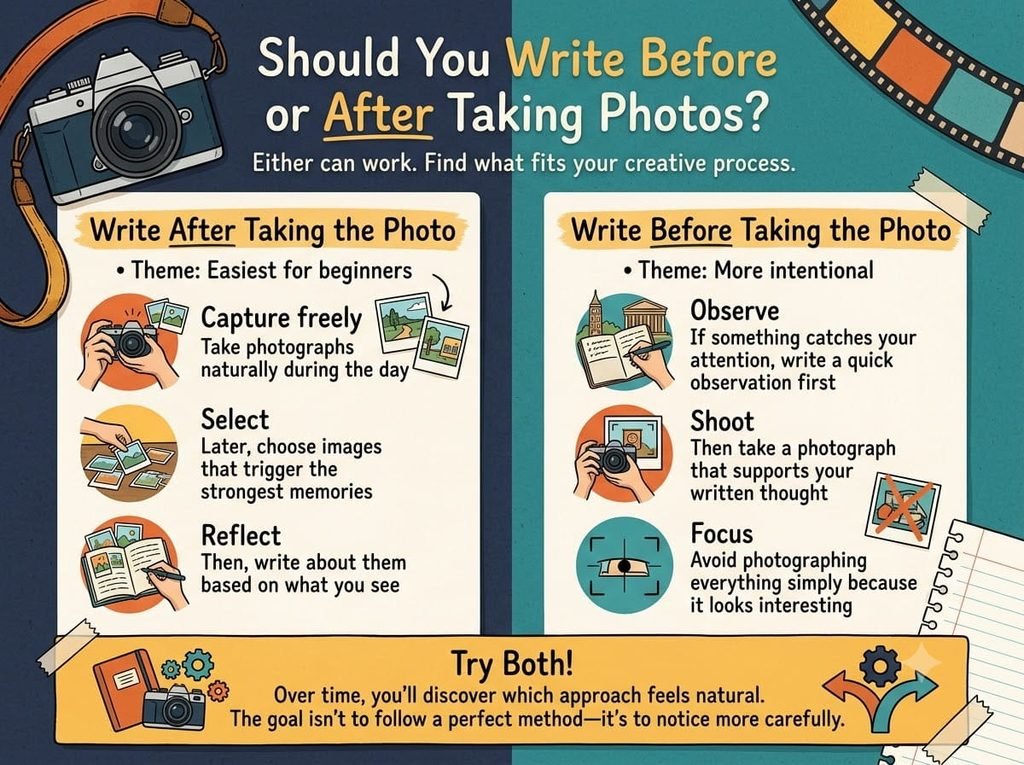
Should You Write Before or After Taking Photos?
Either can work.
Write After Taking the Photo
This is probably the easiest approach for beginners.
Take photographs naturally during the day.
Later, choose the images that trigger the strongest memories.
Then write about them.
Write Before Taking the Photo
This can make you more intentional.
If something catches your attention, write a quick observation first.
Then take a photograph that supports it.
This can help you avoid photographing everything simply because it looks interesting.
Try Both
Over time, you’ll discover which approach feels natural.
The goal isn’t to follow a perfect method.
It’s to notice more carefully.
The Beginner Friction Factor: Photographing Everything
A common problem is taking hundreds of photographs and writing almost nothing.
When you have too many images, choosing the important ones becomes difficult.
Try a simple rule:
Choose three photographs per day.
Pick:
- One photograph showing the place
- One photograph showing a person, object, or activity
- One photograph representing a memorable moment
Then write a few sentences about each.
You can always save the other photographs elsewhere.
Your journal doesn’t need to become your entire camera roll.
How Can Captions Make a Travel Journal Better?
A caption shouldn’t simply state what readers can already see.
Instead of:
A street in the city.
Try:
I found this street after taking the wrong turn from the main square.
The second caption adds context and memory.
Good captions can answer:
- Where was this?
- When did it happen?
- Why did I take the photo?
- Who was involved?
- What happened next?
- What do I want to remember?
Keep them short unless the story needs more explanation.
Can You Add Sketches and Other Materials?
Yes.
A travel journal doesn’t have to contain only photographs and paragraphs.
You can add:
- Tickets
- Maps
- Receipts
- Postcards
- Small sketches
- Restaurant cards
- Museum labels
- Handwritten notes
These objects can make the journal more personal.
But don’t add things simply to fill empty space.
Every element should help you remember something.
How Can You Make the Journal Feel Like a Story?
Once you have several pages, look for a sequence.
Instead of arranging everything strictly by date, you could organize pages around:
- A particular city
- A food experience
- A person you met
- A day that went wrong
- A favorite neighborhood
- A change in your expectations
This can turn a collection of memories into a travel narrative.
For example:
Arrival → First impressions → Unexpected discovery → Favorite moment → Reflection
The photographs become visual anchors for each stage.
The writing connects them.
What Skills Should You Learn?
If you enjoy combining photography and writing, build both skills gradually.
Start with:
- Basic composition
- Observation
- Descriptive writing
- Caption writing
- Photo selection
- Story structure
- Simple page layout
You don’t need professional photography equipment.
A phone camera is enough to practice composition and visual storytelling.
Your writing doesn’t need to be literary either.
Specific observations matter more than complicated language.
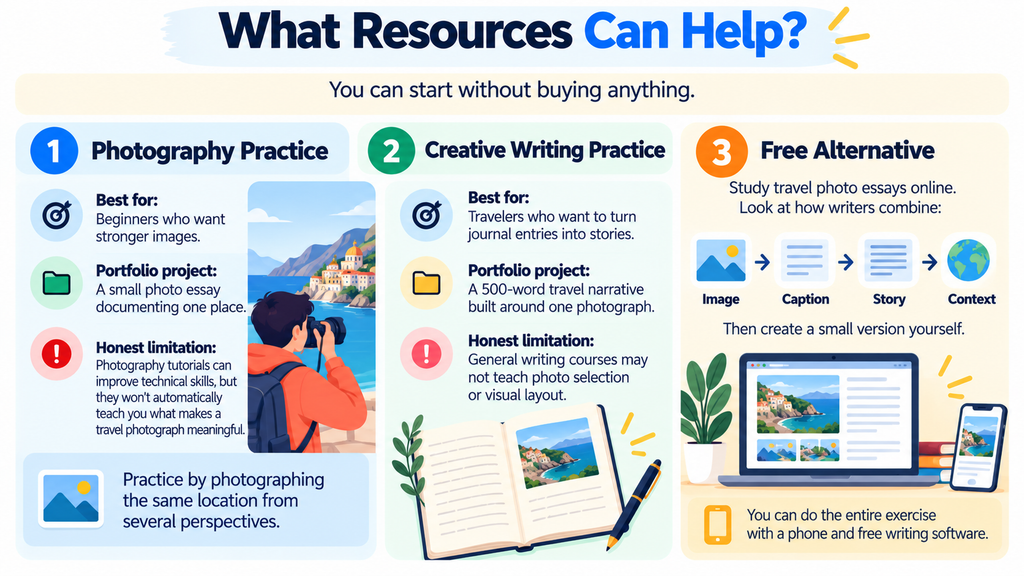
What Resources Can Help?
You can start without buying anything.
Photography Practice
Best for: Beginners who want stronger images.
Portfolio project: A small photo essay documenting one place.
Honest limitation: Photography tutorials can improve technical skills, but they won’t automatically teach you what makes a travel photograph meaningful.
Practice by photographing the same location from several perspectives.
Creative Writing Practice
Best for: Travelers who want to turn journal entries into stories.
Portfolio project: A 500-word travel narrative built around one photograph.
Honest limitation: General writing courses may not teach photo selection or visual layout.
Free Alternative
Study travel photo essays online.
Look at how writers combine:
Image → Caption → Story → Context
Then create a small version yourself.
You can do the entire exercise with a phone and free writing software.
What Should You Learn Next?
Once you’re comfortable combining photos and words, try creating a photo essay.
A simple progression is:
Travel journal → Photo + caption → Visual diary → Photo essay → Travel feature
You can also learn basic digital layout if you want to publish your work online.
The next goal isn’t to create more content.
It’s to become better at choosing what deserves attention.
Your Day-One Action Plan
Start with your most recent trip, even if it happened months ago.
- Choose five photographs. Pick images that trigger specific memories rather than simply being technically attractive.
- Write 100 words for each. Explain what happened around the photograph and why you want to remember it.
- Create one journal page. Combine your strongest photo, a useful caption, and your best paragraph.
Then remove anything repetitive.
A good travel journal doesn’t try to preserve everything.
It preserves the details you’ll be glad you remembered.